Car Amplifier Installation | Professional Audio Upgrade Services
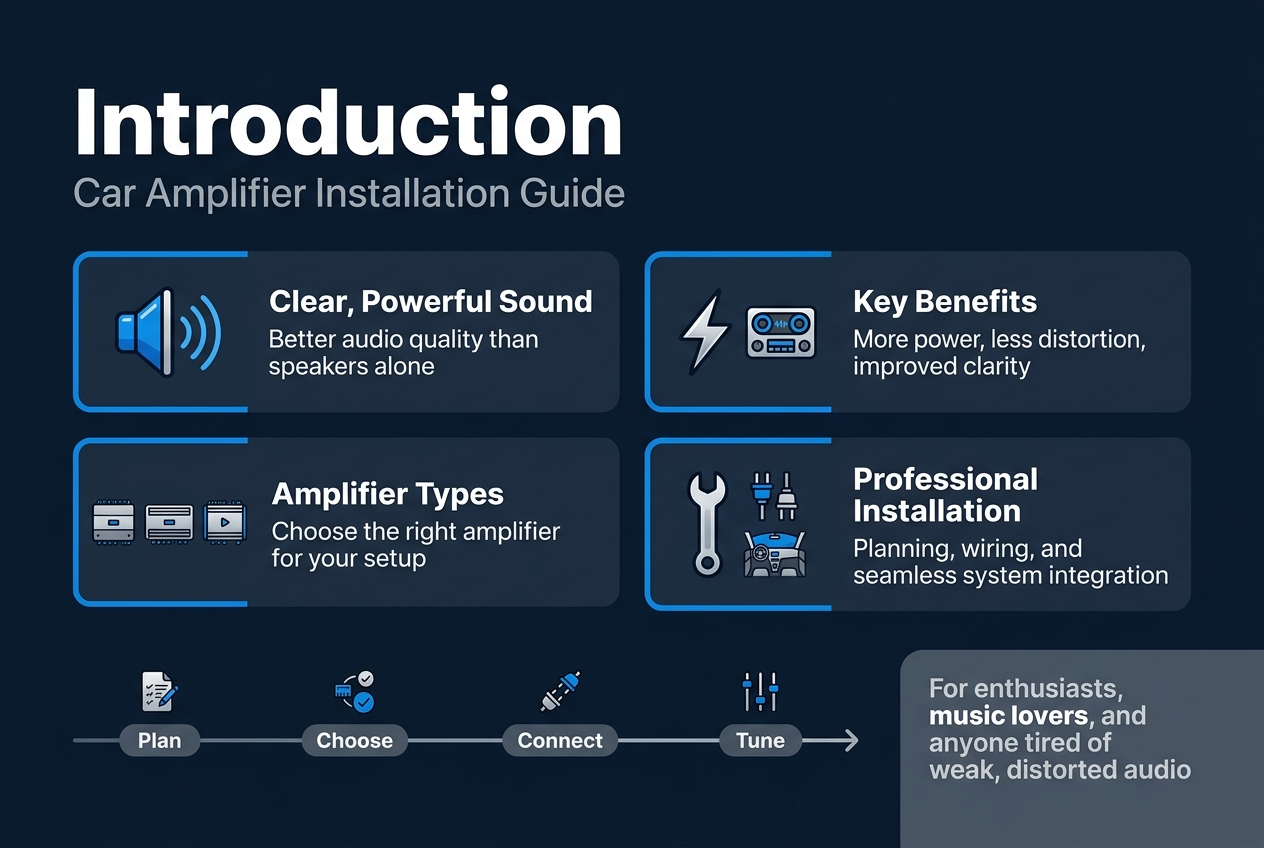
We’ll walk you through the key benefits amplifiers bring to your vehicle’s sound system and break down the different types available so you can pick what works best for your setup. You’ll also get an inside look at what professional installation actually involves, from planning the setup to making all the connections work perfectly with your existing system.
Understanding Car Amplifier Benefits for Your Vehicle
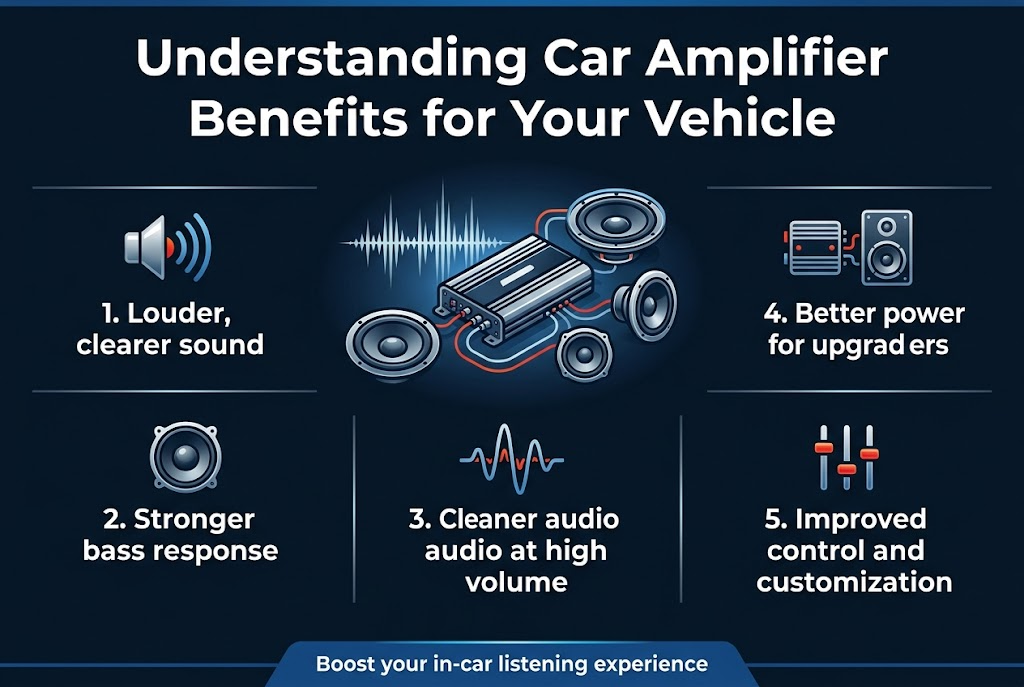
Enhanced Sound Quality and Audio Clarity
Car amplifiers transform your vehicle’s audio experience by delivering clean, distortion-free sound that factory head units simply can’t match. When you invest in professional car amplifier installation, you’re getting a dedicated power source that eliminates the strain on your car’s basic audio system. Most factory stereos produce muddy, compressed audio because they lack sufficient power to drive speakers properly.
A quality amplifier provides consistent voltage to your speakers, which translates to crisp highs, clear mids, and defined sound separation across all frequencies. You’ll notice vocals becoming more present and instruments gaining distinct clarity that wasn’t there before. This improvement becomes especially apparent when playing music at higher volumes – instead of distortion and crackling, you get maintained audio fidelity.
Increased Power Output for Better Performance
Factory car audio systems typically deliver between 10-15 watts per channel, which barely scratches the surface of what your speakers can handle. Professional amplifiers can provide anywhere from 50 to several hundred watts per channel, unlocking your speakers’ true potential.
This increased power output means:
-
Louder maximum volume without distortion
-
Better dynamic range in your music
-
Ability to drive larger, more demanding speakers
-
Consistent performance across different musical genres
-
Enhanced audio detail at both low and high volume levels
The extra headroom allows your system to handle sudden volume peaks without clipping, ensuring every musical detail comes through clearly.
Improved Bass Response and Frequency Range
Amplifiers excel at reproducing low-frequency content that gives music its depth and impact. Your car’s factory system struggles with bass reproduction because it lacks the power reserves needed to move speaker cones effectively at lower frequencies.
With proper amplification, you’ll experience:
-
Deeper, more controlled bass response
-
Extended frequency range from 20Hz to 20kHz
-
Better separation between bass and midrange frequencies
-
Reduced distortion in low-end reproduction
-
More accurate reproduction of kick drums, bass guitars, and synthesizers
Extended Speaker Lifespan Through Proper Power Distribution
Underpowered speakers actually face more stress than properly powered ones. When your factory head unit struggles to provide adequate power, it sends clipped, distorted signals to speakers, causing heat buildup and premature failure.
Professional car amplifier installation protects your investment by:
-
Providing clean, stable power that reduces speaker stress
-
Eliminating voltage fluctuations that damage speaker components
-
Distributing power efficiently across multiple speakers
-
Reducing thermal stress through proper impedance matching
-
Protecting against power surges and electrical interference
Quality amplifiers include built-in protection circuits that prevent overheating, short circuits, and overloading – safeguards that extend both amplifier and speaker life significantly.
Types of Car Amplifiers and Their Specific Applications
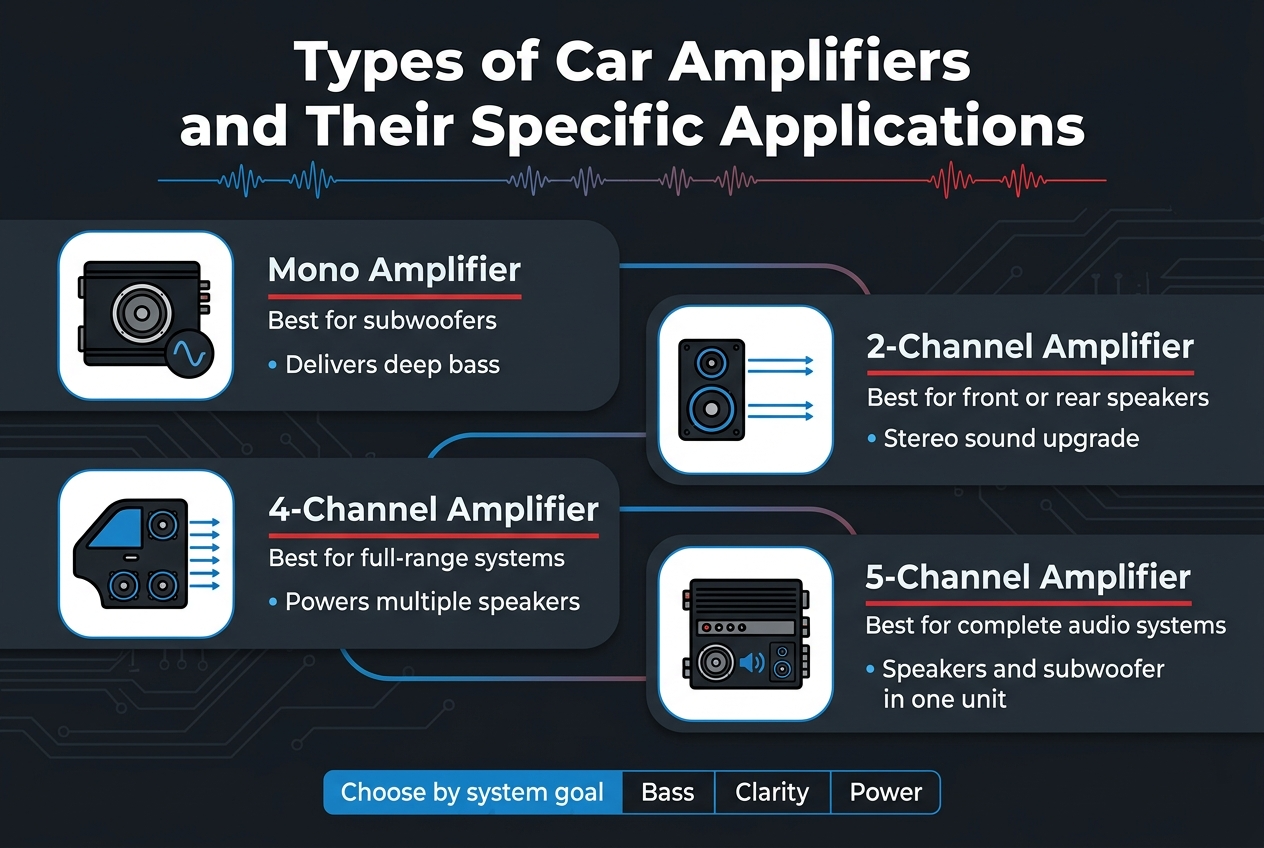
Mono block amplifiers pack serious punch for subwoofer applications. These single-channel powerhouses dedicate all their energy to driving low-frequency speakers, making them the go-to choice for bass enthusiasts. Unlike multi-channel units, mono blocks channel their entire power output through one connection, delivering the clean, consistent power that subwoofers demand.
The beauty of mono amplifiers lies in their specialized design. They handle the demanding electrical loads that subwoofers create without breaking a sweat. Most quality mono blocks operate in bridged mode internally, which doubles the voltage sent to your subwoofer compared to traditional stereo configurations. This translates to deeper, more controlled bass response that you can actually feel.
When planning your car amplifier installation, consider that mono blocks typically require larger power and ground cables due to their high current draw. They also generate more heat, so proper ventilation becomes critical for long-term reliability.
Multi-Channel Amplifiers for Full Range Audio
Multi-channel amplifiers serve as the Swiss Army knife of car audio systems. These versatile units power multiple speakers simultaneously, making them perfect for complete system upgrades. Two-channel amps handle front speakers, four-channel units cover front and rear speakers, and five or six-channel models add subwoofer capability.
The real advantage comes from system simplification. Instead of installing multiple single-channel amplifiers, one multi-channel unit handles everything. This saves space, reduces wiring complexity, and often costs less than buying separate amplifiers. Modern multi-channel amps feature independent gain controls for each channel, allowing precise tuning for different speaker types.
Four-channel amplifiers offer the most flexibility. You can run them in stereo mode for four speakers, bridge two channels for a subwoofer while powering front speakers with the remaining channels, or use all four channels for component speaker systems with separate tweeters and woofers.
Class D vs Class AB Amplifier Technologies
Class D amplifiers represent the modern standard for car audio efficiency. These switching amplifiers convert over 85% of input power into usable output, generating minimal heat in the process. They accomplish this through rapid on-off switching that creates a pulse-width modulated signal, which gets reconstructed into clean audio through filtering.
The efficiency advantage translates to real-world benefits. Class D amps run cooler, drain less battery power, and often come in compact packages. They’re particularly effective for subwoofer applications where pure power output matters more than ultra-refined sound quality.
Class AB amplifiers take a different approach, using analog circuitry that operates in a more linear fashion. While less efficient at around 60-70%, they traditionally offered superior sound quality for critical listening applications. The gap has narrowed significantly with modern Class D designs, but some audiophiles still prefer Class AB for midrange and tweeter applications.
| Feature | Class D | Class AB |
|---|---|---|
| Efficiency | 85-95% | 60-70% |
| Heat Generation | Low | Moderate to High |
| Size | Compact | Larger |
| Power Consumption | Low | Higher |
| Sound Quality | Excellent | Traditionally Superior |
| Best Application | Subwoofers, High Power | Full Range, Critical Listening |
Your choice between these technologies depends on your priorities. Class D wins for maximum power and efficiency, while Class AB might edge ahead for the most demanding audiophile applications.
Professional Installation Process and Methodology
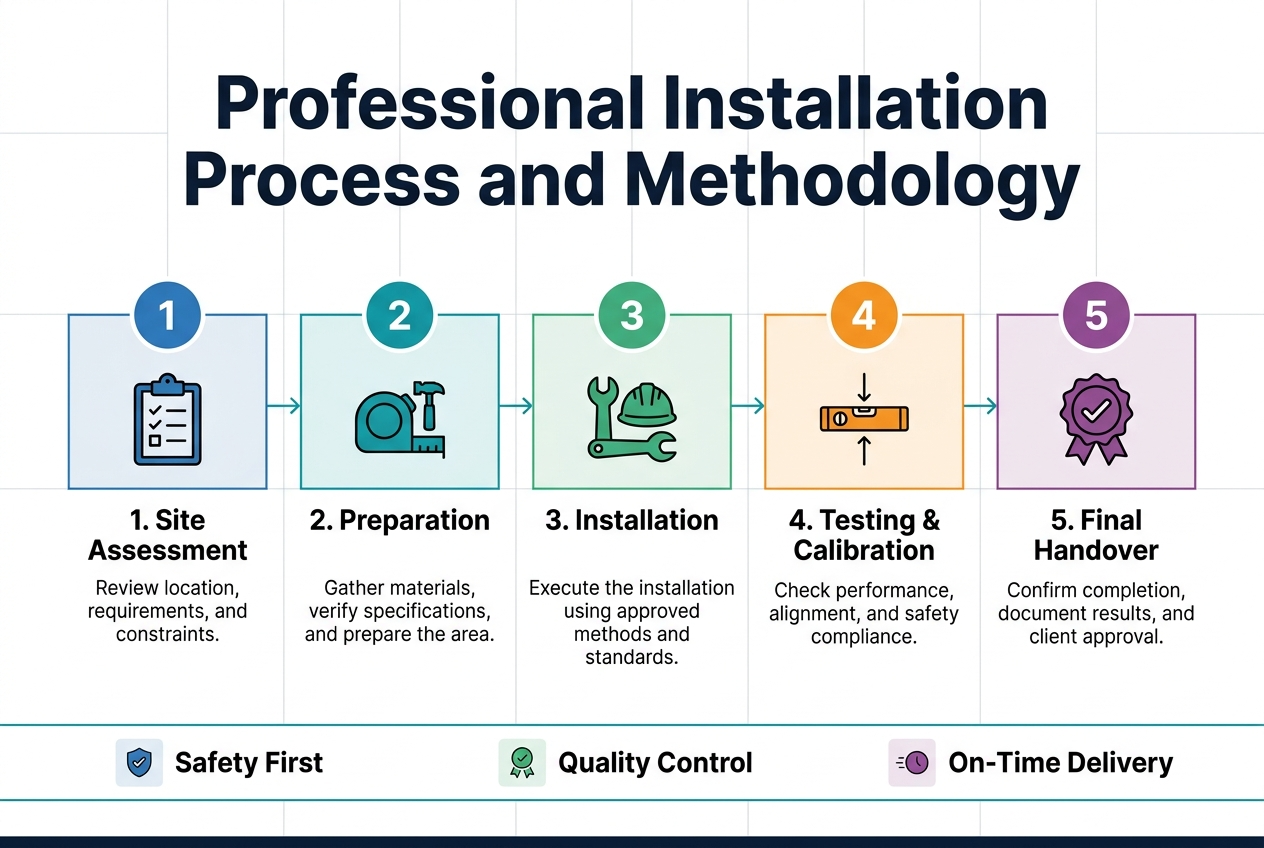
Vehicle Assessment and Audio System Evaluation
Professional car amplifier installation starts with a thorough inspection of your vehicle’s existing audio setup. The technician examines your current speakers, head unit, and wiring harness to determine compatibility requirements. This evaluation includes checking the factory stereo’s power output, impedance ratings, and available connection points.
Your vehicle’s electrical system gets scrutinized to ensure it can handle the additional power draw. Technicians measure the alternator’s output capacity and battery condition, as amplifiers demand substantial electrical current. The assessment also covers identifying optimal routing paths for new wiring while avoiding interference with airbags, heating systems, and other electronic components.
Space constraints play a major role in planning the installation. The team measures potential mounting locations, considering factors like ventilation needs, accessibility for future maintenance, and protection from moisture or physical damage.
Proper Wiring and Electrical Connection Techniques
Quality wiring forms the backbone of any successful car amplifier installation. Professional installers use appropriately gauged power cables based on the amplifier’s current requirements and the distance from the battery. The power wire typically runs from the battery through a protective fuse placed within 18 inches of the positive terminal.
Ground connections receive equal attention, as poor grounding causes performance issues and potential safety hazards. Technicians clean the grounding point to bare metal and use star washers to ensure solid electrical contact. The ground wire length stays as short as possible to minimize resistance.
Signal cables get routed separately from power wires to prevent electromagnetic interference. High-quality RCA cables with proper shielding carry audio signals from the head unit to the amplifier without degradation.
Amplifier Mounting and Placement Strategies
Strategic amplifier placement balances accessibility, protection, and thermal management. Common mounting locations include under seats, in the trunk, or behind interior panels. Each spot has advantages – under-seat mounting provides easy access but limited space, while trunk installation offers more room but requires longer cable runs.
Mounting surfaces must provide solid support and adequate ventilation. Professional installers often fabricate custom mounting boards or brackets to secure the amplifier properly. The mounting orientation allows heat to dissipate effectively, typically with cooling fins positioned vertically.
Protection from elements and theft influences placement decisions. Interior locations shield the amplifier from moisture and temperature extremes while keeping it hidden from potential thieves.
System Testing and Audio Calibration
After installation, comprehensive testing verifies proper operation and performance. Initial power-up tests confirm all connections function correctly without shorts or ground loops. Technicians monitor the amplifier’s temperature during operation to ensure adequate cooling.
Audio calibration optimizes sound quality across different frequencies and volume levels. This process includes setting gain controls, crossover frequencies, and bass boost levels. Professional installers use oscilloscopes and multimeters to prevent clipping and distortion that damages speakers.
The testing phase includes playing various music genres at different volume levels to identify potential issues. Any unwanted noise, distortion, or interference gets addressed before completing the installation.
Safety Protocols and Quality Assurance
Professional car amplifier installation follows strict safety guidelines to protect both the vehicle and occupants. All electrical connections receive proper insulation and protection from chafing or moisture intrusion. Fuse ratings match the amplifier’s requirements exactly, providing protection without limiting performance.
Installation teams verify that no factory safety systems get compromised during the process. Airbag sensors, collision detection systems, and other critical components remain untouched and fully functional.
Final quality checks include securing all loose wiring, confirming mounting hardware tightness, and testing the complete system under various operating conditions. Documentation provided includes warranty information and basic operation instructions for the new amplifier system.
Cost Factors and Investment Considerations
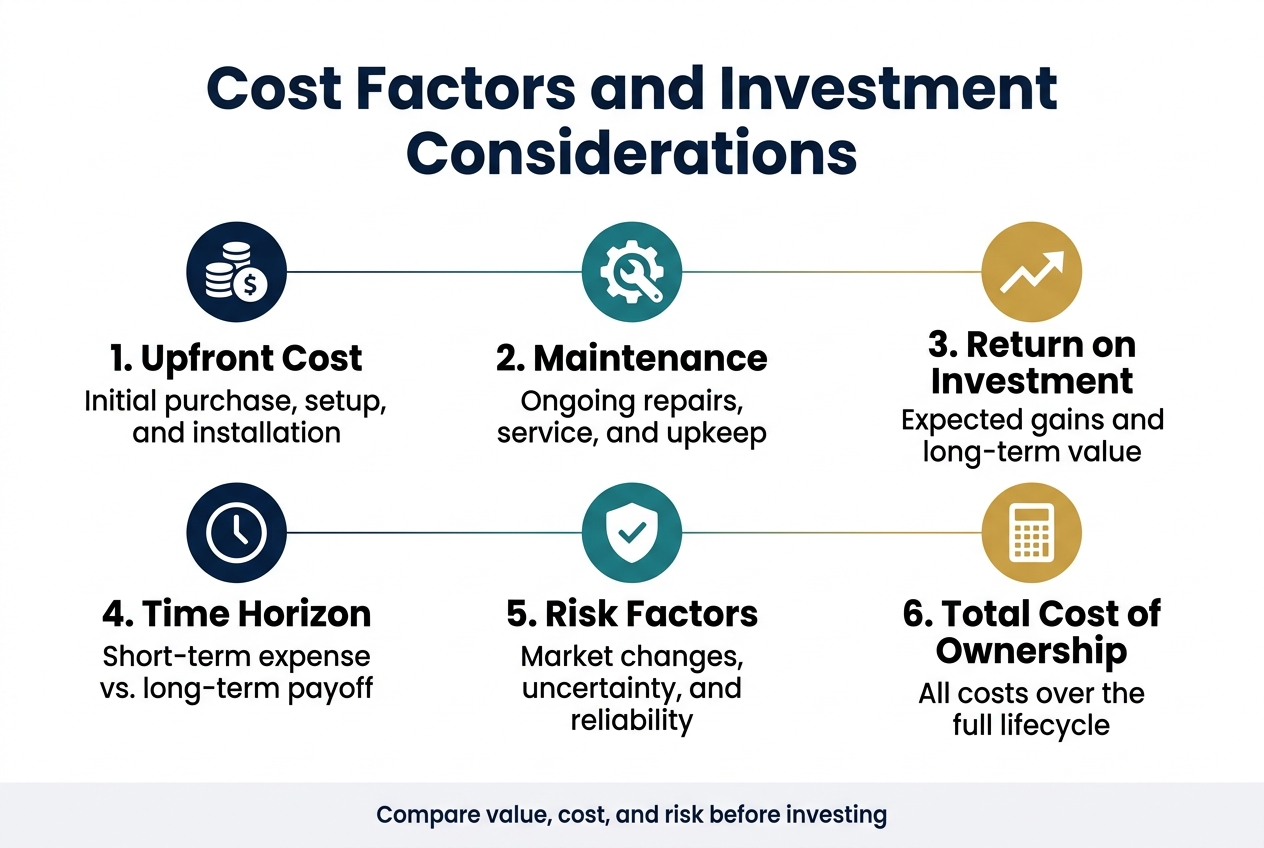
Car amplifier prices vary dramatically based on power output, build quality, and feature sets. Entry-level amplifiers producing 50-100 watts per channel typically range from $80-200, making them suitable for budget-conscious upgrades. Mid-range options delivering 200-400 watts cost between $200-500 and offer better sound quality with enhanced thermal management. High-end amplifiers pushing 500+ watts can exceed $1,000, featuring premium components, advanced crossover networks, and superior signal processing.
Power rating directly impacts pricing, but don’t overlook efficiency ratings and total harmonic distortion specifications. Class D amplifiers cost more upfront but consume less power and generate minimal heat. Multi-channel amplifiers command higher prices than mono or stereo units due to increased complexity. Premium features like adjustable crossovers, bass boost controls, and remote level controls add $50-200 to base prices.
| Amplifier Type | Power Range | Price Range | Best For |
|---|---|---|---|
| Entry-Level | 50-100W | $80-200 | Basic upgrades |
| Mid-Range | 200-400W | $200-500 | Balanced performance |
| High-End | 500W+ | $500-1,500+ | Audiophile systems |
Labor Costs for Professional Installation Services
Professional car amplifier installation typically costs $150-400, depending on system complexity and vehicle type. Basic installations in standard vehicles with existing wiring harnesses fall on the lower end. Complex installations requiring custom mounting, extensive wire runs, or integration with factory systems command premium pricing.
Hourly labor rates range from $75-125 at reputable shops. Simple amplifier installations take 2-4 hours, while multi-amplifier systems or challenging vehicle layouts can require 6-8 hours. Luxury vehicles with complex electrical systems often increase installation time due to additional precautions and specialized knowledge requirements.
Mobile installation services charge 20-30% more than shop-based work but offer convenience. Always verify technician certifications and shop insurance coverage before committing to installation services.
Additional Components and Wiring Requirements
Beyond the amplifier itself, expect additional costs for essential installation components. Quality wiring kits range from $40-150, with higher-gauge wire necessary for powerful amplifiers. Fuse holders, distribution blocks, and grounding kits add another $30-80 to project costs.
Custom mounting solutions cost $25-75, while line output converters for factory radio integration run $20-60. Sound dampening materials improve performance but add $50-200 depending on coverage area. RCA cables, speaker wire, and miscellaneous hardware typically total $30-100.
Factory radio integration often requires bypass modules or interface adapters costing $50-200. Vehicles with premium factory systems may need specialized harnesses adding $75-150 to component costs. Budget an additional 20-30% of amplifier cost for necessary installation accessories.
Maintenance and Troubleshooting for Optimal Performance
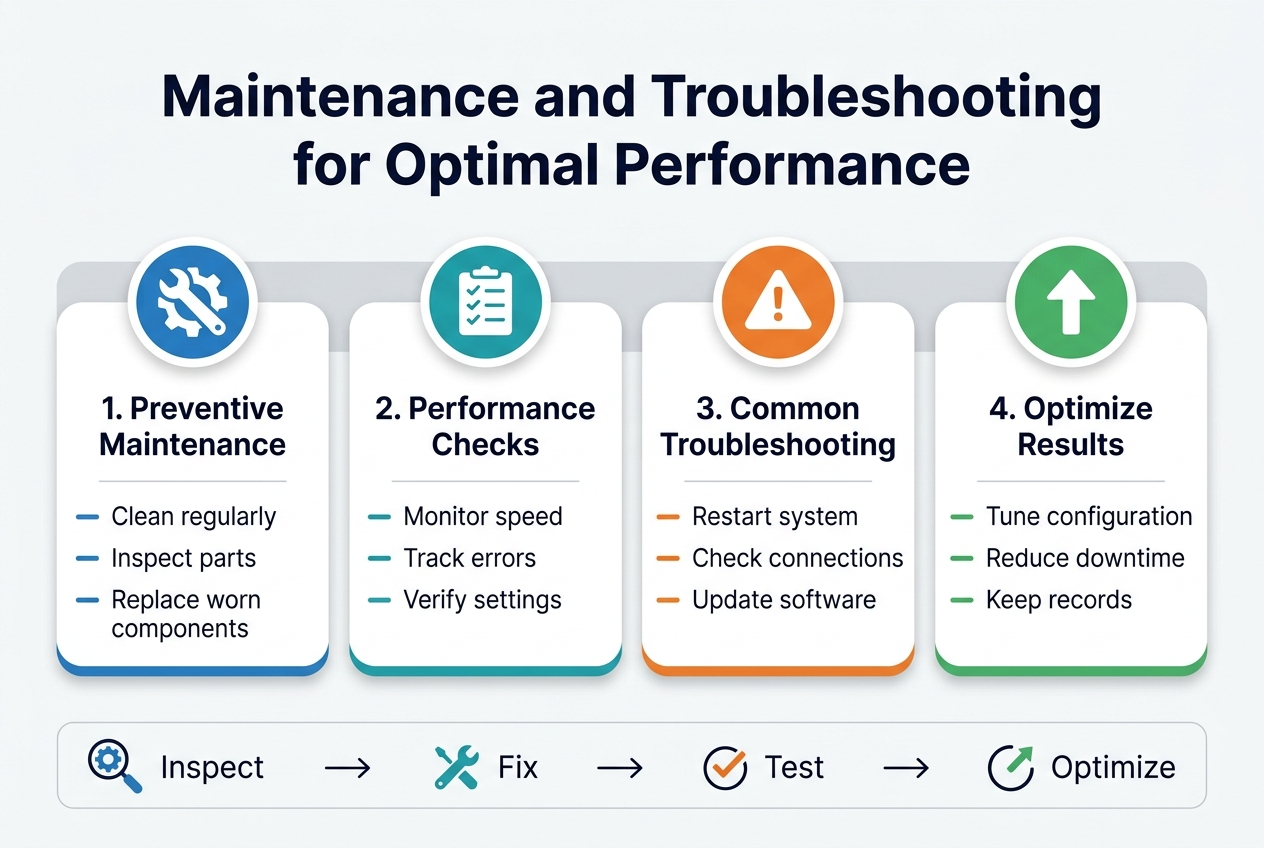
Regular System Checks and Performance Monitoring
Your car amplifier system needs consistent attention to deliver peak performance. Check your amplifier’s temperature regularly during operation – excessive heat often signals ventilation problems or internal component stress. Monitor the LED indicators on your amplifier, as they provide real-time feedback about power status, protection modes, and potential malfunctions.
Test your audio output monthly by playing familiar tracks at various volume levels. Listen for distortion, crackling sounds, or sudden volume drops that weren’t present after your car amplifier installation. Inspect all wire connections every few months, ensuring they remain tight and corrosion-free. Loose connections create resistance, leading to power loss and potential component damage.
Battery voltage monitoring proves crucial for amplifier longevity. Use a multimeter to verify your vehicle’s electrical system maintains proper voltage levels during engine operation and when parked. Low voltage forces amplifiers to work harder, generating excess heat and reducing lifespan.
Common Issues and Professional Repair Solutions
Amplifier protection mode activation ranks among the most frequent problems following car amplifier installation. This safety feature engages when the system detects overheating, short circuits, or impedance mismatches. Professional technicians can diagnose the root cause and implement proper solutions rather than simply resetting the system.
Ground loop noise creates annoying humming or buzzing sounds through your speakers. This electrical interference requires systematic troubleshooting to isolate the source and implement proper grounding techniques. DIY attempts often worsen the problem or create new electrical issues.
Common Amplifier Problems:
| Issue | Symptoms | Professional Solution |
|---|---|---|
| Overheating | Thermal shutdown, reduced output | Improve ventilation, check impedance matching |
| Ground loops | Humming, buzzing noise | Proper grounding installation, noise filters |
| Blown fuses | No power, protection mode | Circuit analysis, component replacement |
| Distorted output | Clipping, harsh sounds | Gain adjustment, impedance correction |
Warranty Coverage and Service Support Options
Most quality amplifier manufacturers provide comprehensive warranty coverage ranging from one to five years, depending on the brand and model. Professional installation typically includes separate warranty protection for labor and workmanship, distinct from manufacturer coverage.
Extended service plans offer valuable protection beyond standard warranties, covering both parts and professional repair services. These plans often include annual system inspections and priority repair scheduling. Document your car amplifier installation with photos and retain all receipts to ensure warranty validity.
Authorized service centers maintain specialized diagnostic equipment and factory-trained technicians familiar with specific amplifier models. They stock genuine replacement parts and follow manufacturer-approved repair procedures. Independent audio shops may offer competitive pricing but verify their certification status and parts sourcing practices before committing to repairs.
Regular professional maintenance visits can identify potential problems before they cause system failures, potentially saving significant repair costs while maintaining optimal audio performance throughout your amplifier’s operational life.

Don’t settle for mediocre car audio when a professional upgrade can make such a dramatic difference. Reach out to certified installers who understand the technical details and can recommend the best amplifier setup for your vehicle and budget. Your ears will thank you every time you turn the key.
Quick Contact (Fast Response)
WhatsApp: https://wa.me/17143361630
Contact Page: https://nextgencaraudioandtint.com/contact/
Latest Articles
- Car Interior Customization That Makes Your Car Stand Out
- UV Protection Tinted Windows | Block Harmful Rays & Stay Cool